◊ Dear microburins,
I’m normally a night owl but, having collapsed in bed with a couple of archaeology journals at 10pm last night, here I am awake in the early hours. So I thought I’d do something moderately useful before the sun rises and the day unfolds. This post offers notes on recent experiences in photographing lithic artefacts – efficiently and cost-effectively – in a manner suitable for assemblage characterisation reports (‘grey lit’ and HER¹/PAS²) and archiving. There’s a shopping list at the end and an outreach, as always, for feedback and advice.
¹ Historic Environment Record (HER) | ² Portable Antiquities Scheme (PAS). OASIS is a publicly accessible portal for submitting archaeological and fieldwork records to the relevant HER, with documents/images uploaded to Archaeology Data Service (ADS) digital archives.

Image | A bit of paraphernalia in the lithics lab for the blogtastic Day of Archaeology 2014.
A recent bout of lithics analysis needed some rapid, efficient and consistent images for the more significant pieces. The excavation-derived collection (not an assemblage per se) was in majority chert rather than flint – one of the fascinating aspects of prehistoric raw material consumption in north-east England related to availability in base and drift geology. The late glacial ice sheet dynamics and subsequent fluvial activity have created a jigsaw of knappable raw material types including limestone-derived cherts from the Pennines and various chalk-derived flint types from beds under the north sea, Scandinavia and farther south beyond the Yorkshire and Lincolnshire wolds. Flint remains readily available in east coast beach gravels, boulder clay deposits and some river gravels. Against this canvass, human mobility, most especially in the Mesolithic, provides for some interesting patterns in terms of what one finds where.
Photographic set-up
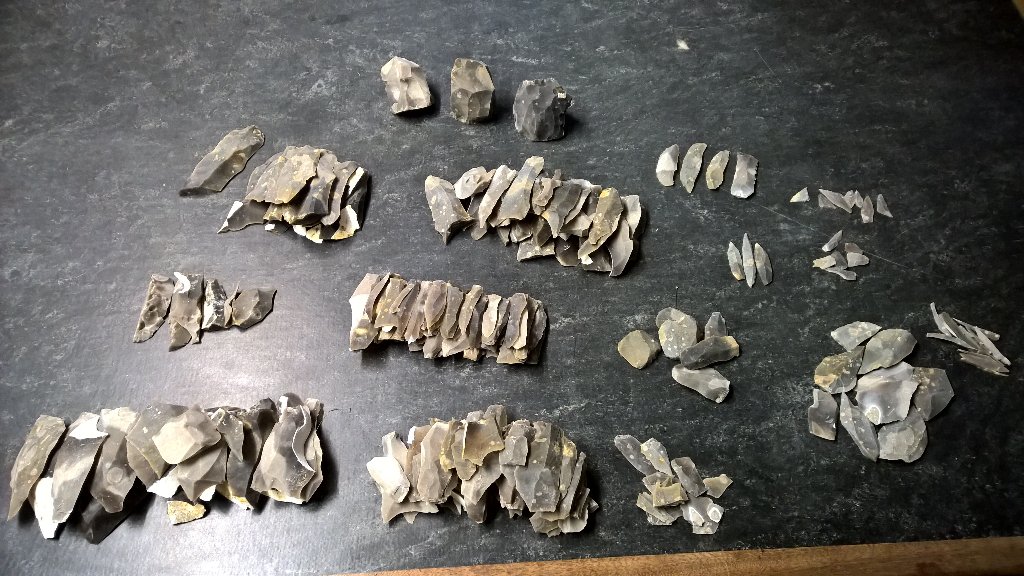
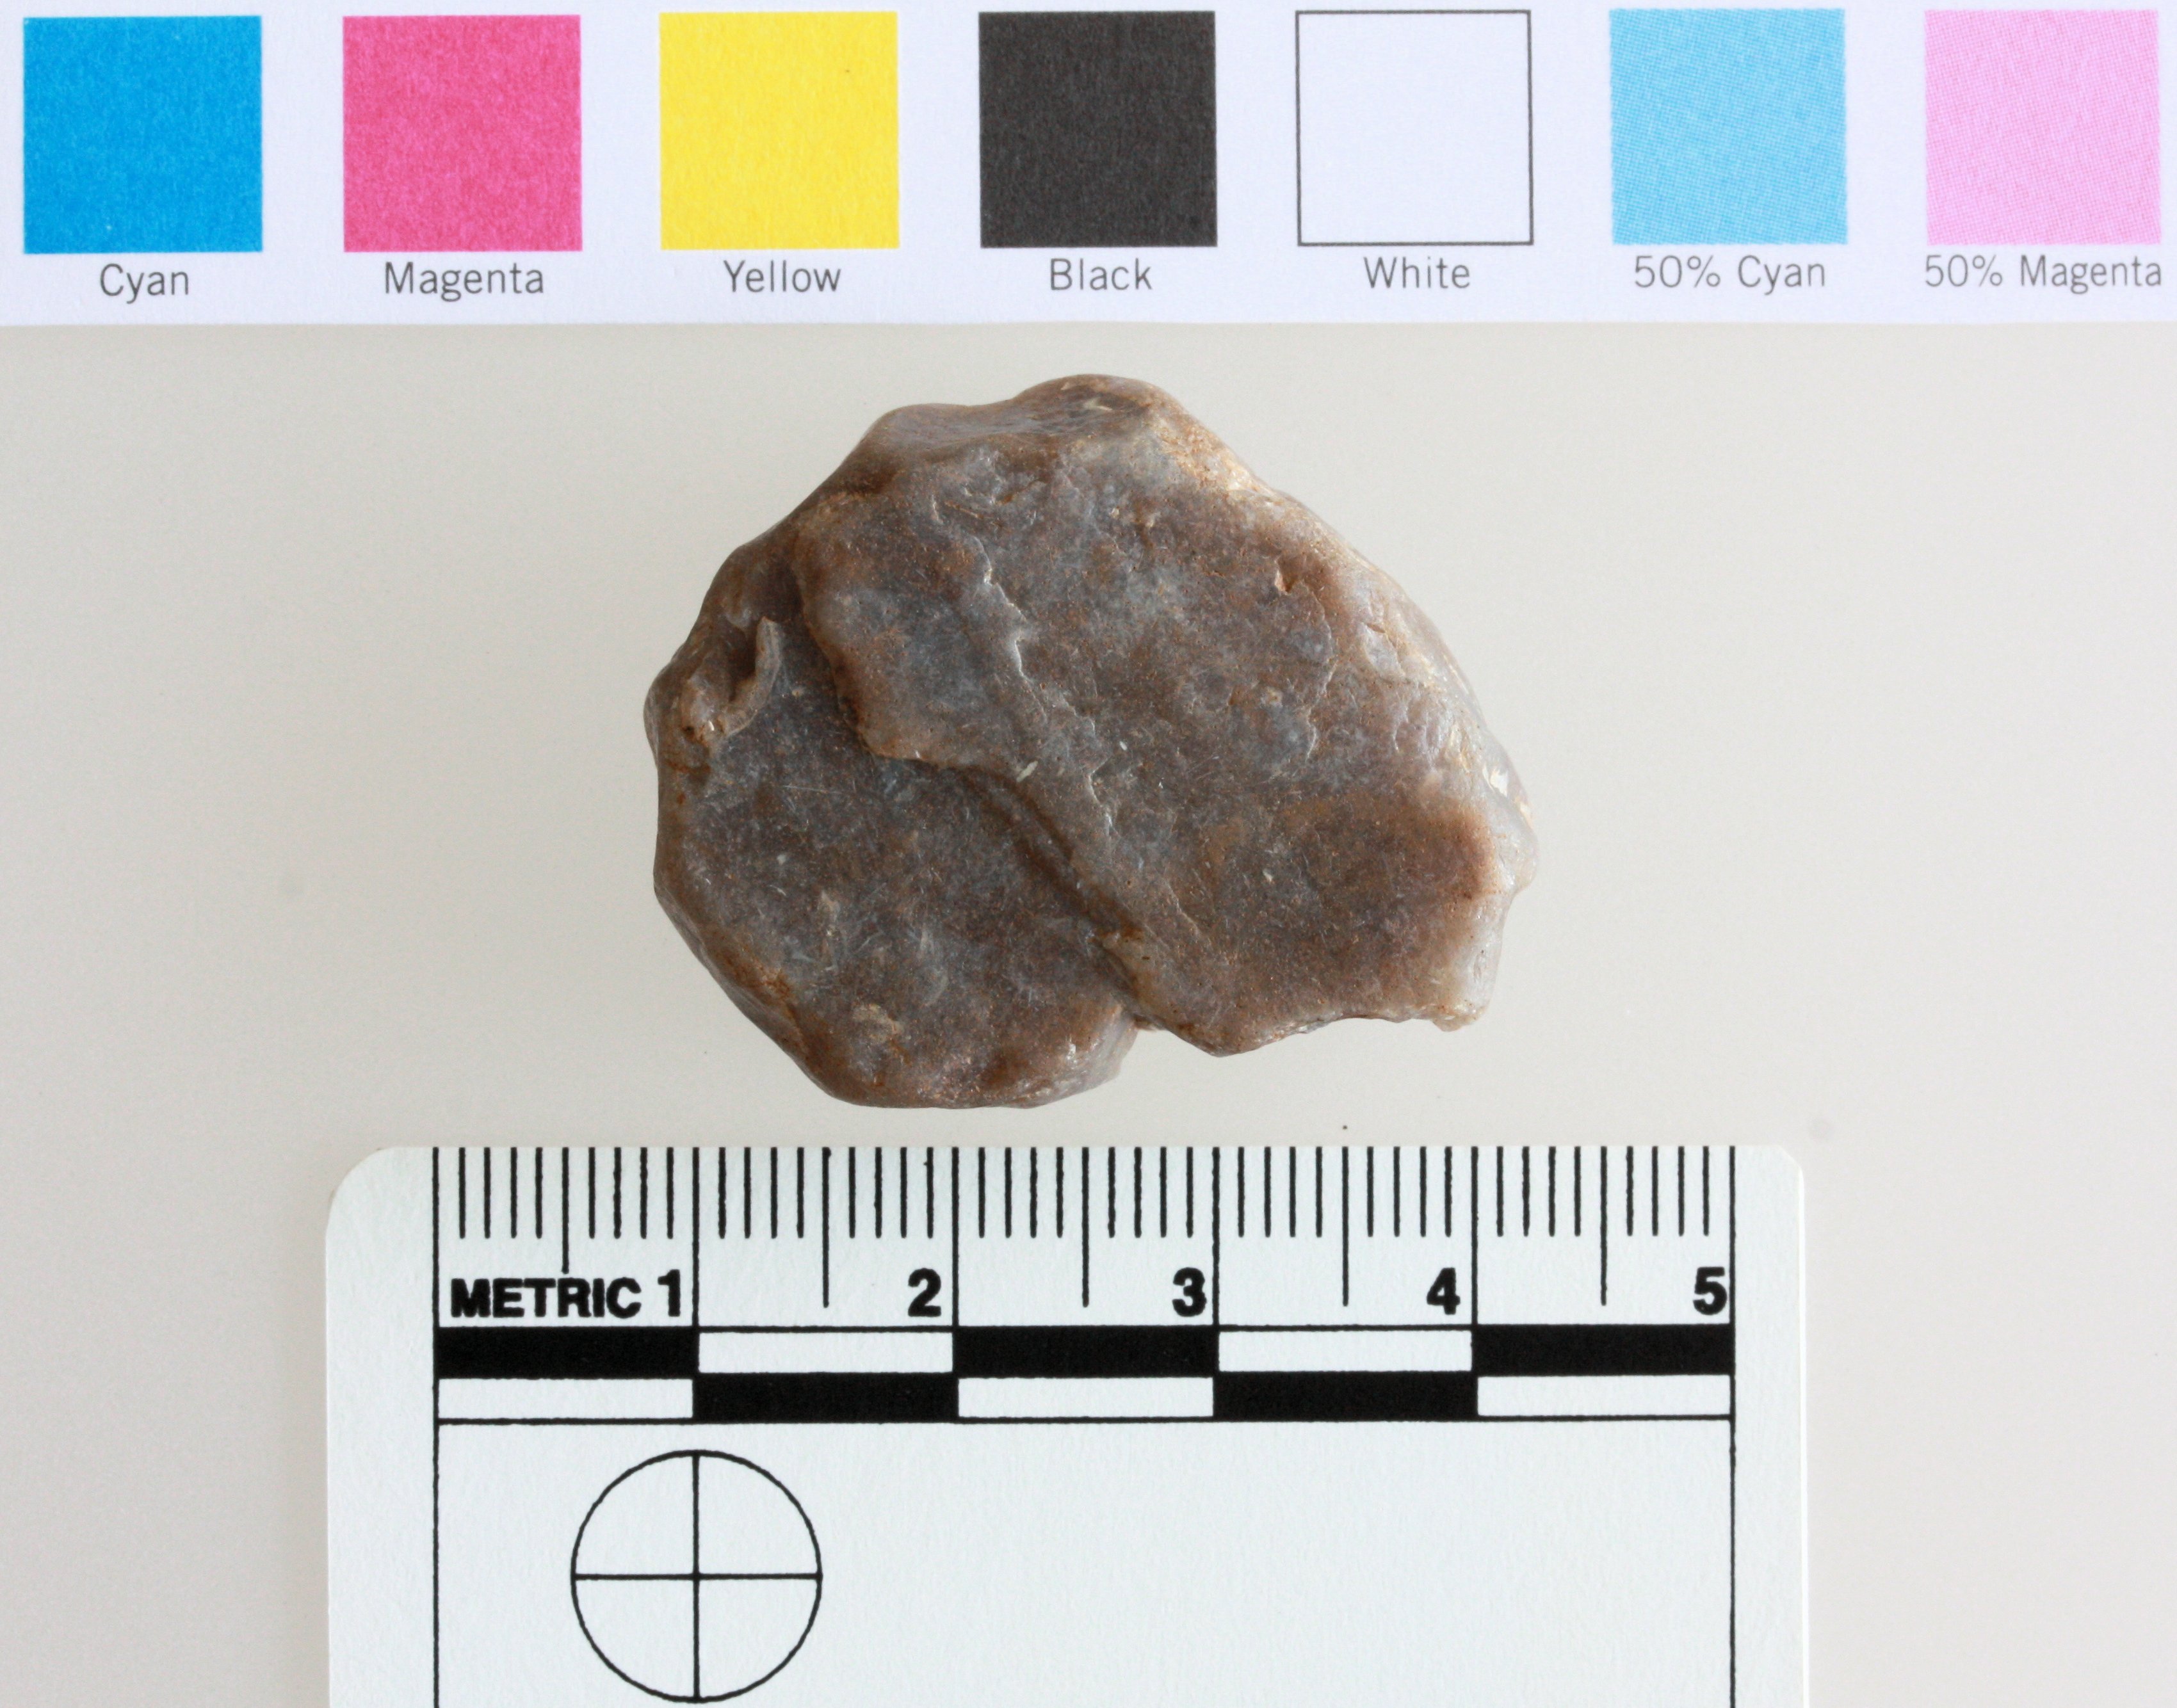
Images (below) | Top: Late Mesolithic flint microliths (narrow blade), Bottom: Side view of a Mesolithic chert core tablet.
 I’m largely self-taught and results-driven when it comes to photographing lithics. I’ve experimented with black backgrounds and lighting configurations with some success. However, depth of field and pronounced shadowing for the more substantial artefacts have provided some challenges. Inevitably, a significant amount of work in image enhancement software is also needed, plus the addition of graphical scales (I use Corel because Adobe is too expensive). There can also be problems with darker coloured materials and especially the edges against a rather brutal black background. The results have been good, I think, but time-consuming. More on dark background specifications »
 What I now find is far more efficient and consistent is using an acrylic frosted block, the type you see in museums or retail displays. In diffused natural daylight the block lets sufficient light permeate around the base of an artefact to suppress excessive shadows – the object almost seems to float in a milky ether – and allows for a small enough aperture (high f/stop number) to counter blurring within the frame, or between the top of an object and the scale, such as with deep objects like cores, items with heavy curvature or a deep arête. Lighting can be tuned by raising the block on a clear acrylic stand or placing foil or white card underneath – much cheaper than using a lightbox (not very transportable) or augmenting with artificial lighting. By using a good quality photographic scale I’ve also avoided the need to overlay digital scale images, although this is easy enough to do. And if an object needs support, I actually find that soft silicone earplugs (like bluetack but colourless) work fine.
 Having a colour-correction scale has helped to maintain consistent hue/chroma results and I can, pretty much, adjust all images in a sequence using batch mode in photo/paintshop software, including corrections for barrel distortion (depends on your lens). The results feel good enough for archive/grey lit reports and need little extra work for publication-quality, as and when that becomes necessary. You can also combine objects, matched to scale, in a single merged image. You can’t really beat a good lithics line drawing but these remain open to the biases of interpretation – the eye of the penholder – and completeness in terms of what is included, excluded or emphasised. Drawing is subjective.
Mobility
The beauty of this toolkit is that it can all be carried in a small plastic storage box and set up pretty much anywhere that’s suitably lit, perhaps excepting the lighting equipment which I keep in the lab. Office/fluorescent/tungsten lighting is challenging but can be neutralised/compensated for with camera settings (or manipulating raw file images).
Specification
So here’s the set-up I am operating. I’m absolutely open to advice and suggestions too. Supplier information is offered in good faith without any implied endorsement or coercion. It’s just good stuff, well-priced (although the camera and macro lens are relatively expensive – try second-hand if you don’t have one), and it works. I hope the following is pragmatic and useful:
The lithics selected for photography were photographed to display their dorsal and ventral faces, and additionally to give a side or platform view when required. Each image included a metric 50mm scale and true-colour correction panel. The lithic was placed on an opaque (frosted) acrylic display block and photographed in partially diffused natural light with the following equipment and settings:
- Camera: Canon EOS 450D SLR with remote shutter release
- Lens: Canon EFS 60mm f/2.88 macro lens
- F-stop: f/14 (small aperture)
- Exposure: 1/6 second
- ISO speed: ISO-400
- Focal length: 60mm
- White balance: Auto
I’ve not needed artificial lighting yet but assuming gloomy winter days:
- Professional photographic lighting (2x 300 Watt opal, filtered white, lateral, no fluorescent overhead) | Calumet, see shopping list below
Images were uploaded as JPEG files and colour-corrected using Corel PaintShop Pro X5 software against the true-colour panel (batch processing was cross checked). TIFF files are also appropriate and an accepted format for long-term archives. The images included in the written report are compressed at 220dpi resolution, the maximum permissible in Microsoft office applications³. Original unmodified JPEG images have been retained; RAW files were not generated due to their large file size and memory requirements although archive retention is recommended.
³ For MS Word or Powerpoint, go to File > Options > Advanced and click the “do not compress” box before saving to PDF or PDF-A (Archive).
rapid-shoot Examples


Left: Late Mesolithic quadrangular (rhomboid) chert microlith, dorsal and ventral views | Right: Mesolithic chert core tablet, platform and base views.
Online Shopping list
♦ Spence